Exploring Dashboards
In MapStore, a Dashboard is a space where the user can add many miniature items, such as charts, maps, tables, texts and counters, and can create connections between them in order to:
- Provide an overview for a better visualization of the data.
- Interact spatially and analytically with the data by creating connections between maps and charts.
- Perform analysis for better decisions.
Creating New Dashboard
From the Home Page:
- Click on the New Dashboard icon
 to create a new dashboard.
You will be redirected to the dashboard workspace.
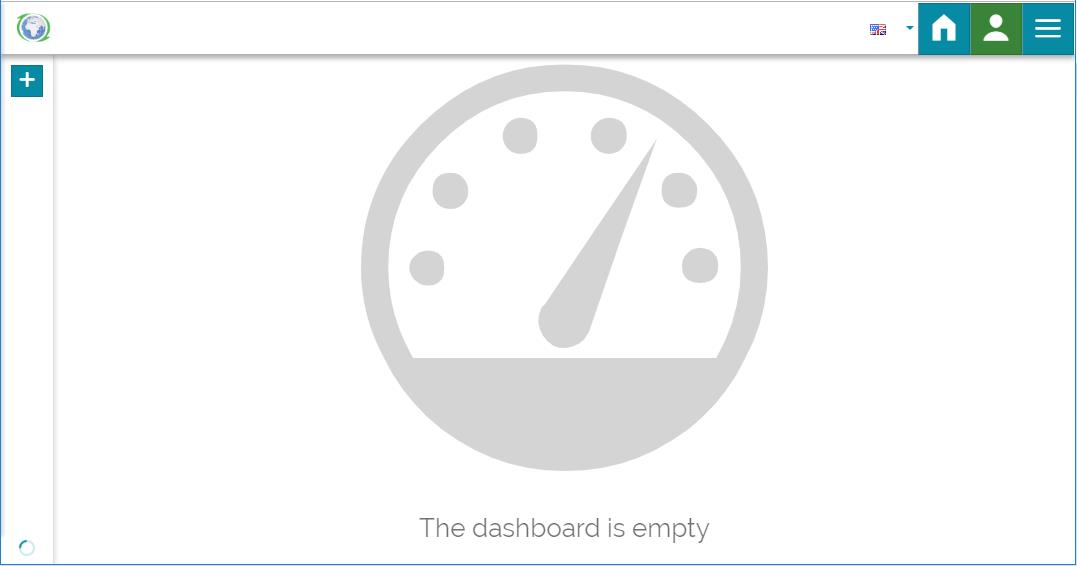
Now the new dashboard is empty and ready to host new items that, in turn, can contain layers.
- Click on the Add icon
 to add new widgets.
The Widget page will open on the left showing a list of items that can be created and added to the dashboard.
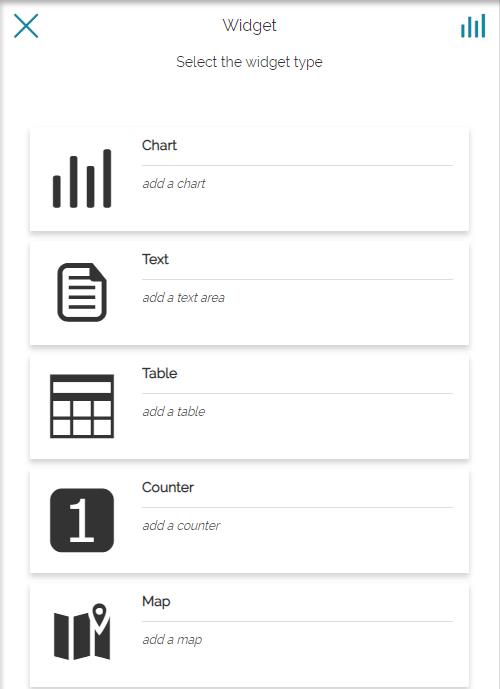
The process of creating widgets in the dashboard workspace is almost the same as in the map workspace. The only difference is that here you must start by choosing the widget type, then decide on which layer to apply it.
You will note that there exists a Map Widget type in the list. It allows you to add an empty map and then to add layers to it or to add already saved map from the portal. Once you have added a map to the dashboard, you can add other widget types and to connect them to the map (except for the text type).
-
Click on Map widget to add a map. A new page will open allowing you to add an already existing map or an empty map.
-
Select to add an Empty Map.
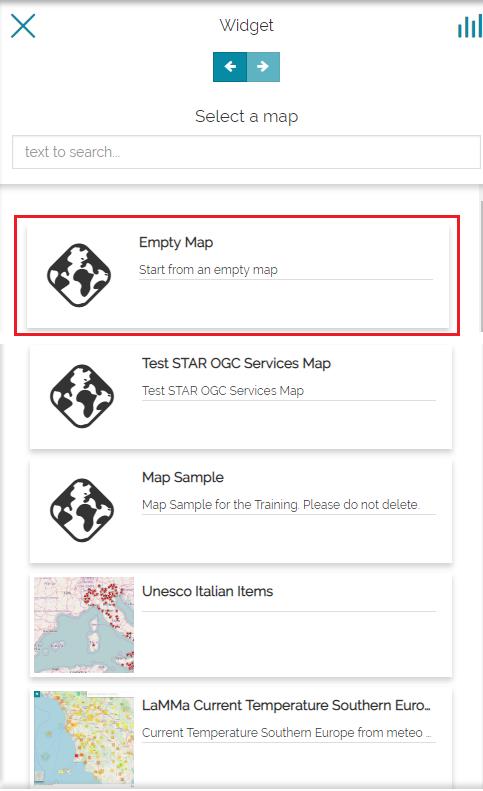
- Click on the next icon to use the empty map
 .
.
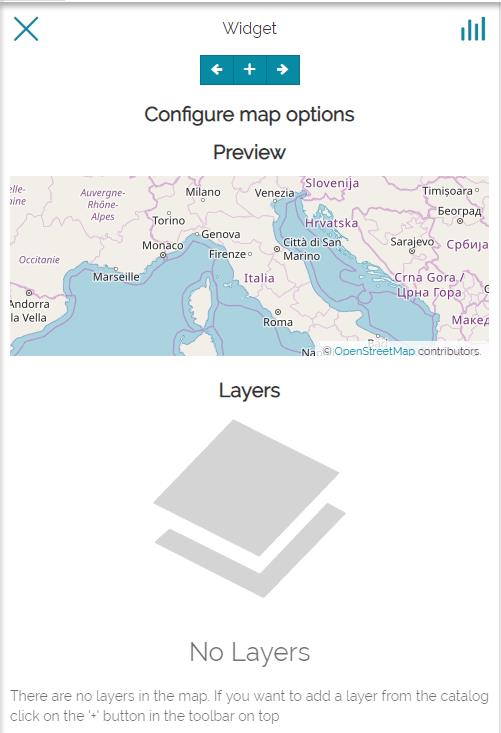
At this point you can configure your map and add layers to it.
-
Click on
to add a layer. -
Search in the text box USA Population for example.
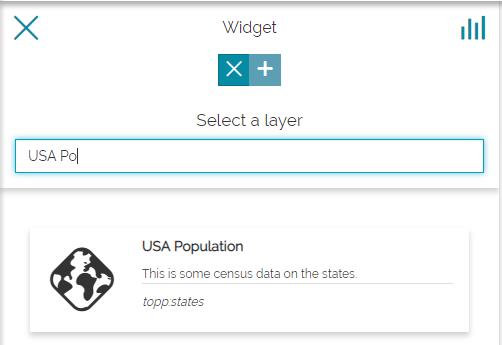
- Select the layer then click on the icon to use the layer.
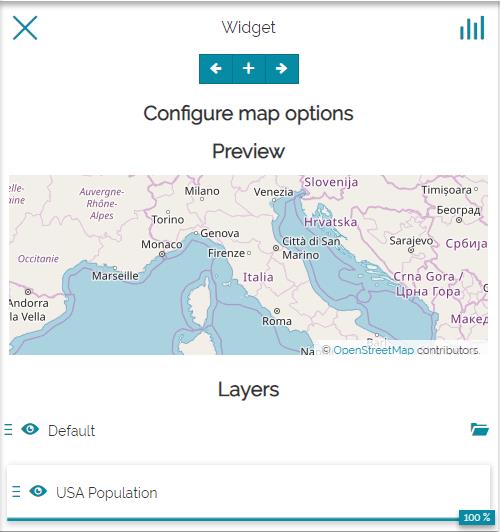
From here you can select the layer and change the layer settings, delete it or add another layer to the map.
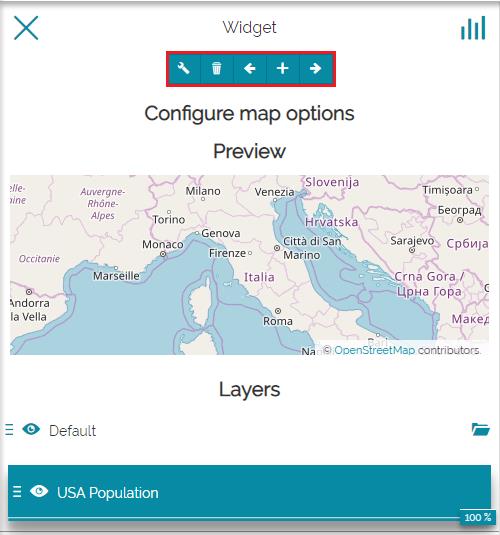
-
Click on the next icon
when you are done. -
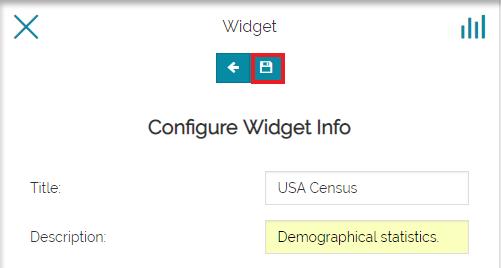
Enter a Title and a Description then save.
The map with the configured layers will be added to the workspace.

Now let us add a Legend widget types. As before:
-
Click on the Add icon
to add another widget. -
Select Legend widget type.
You will be addressed to the configuration page.

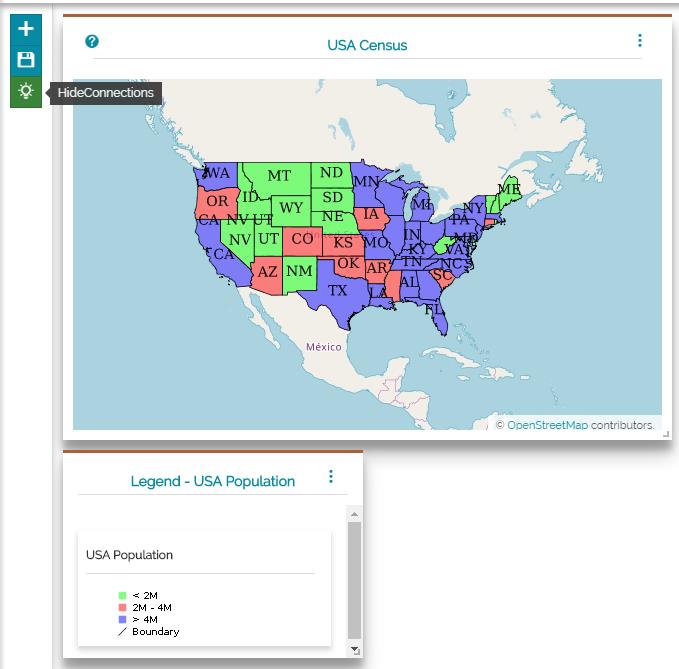
The highlighted icon in green ![]() means that the widget will be connected to the map.
means that the widget will be connected to the map.
- Click on the next icon .
- Enter a Title and a Description then save.
The legend will be added to the dashboard. A new icon will be highlighted in green indicating the active connection between the two widgets. It can be switched off to hide the connections.
Note
Adding and configuring other widget types is identical to the process seen in Creating Widgets section.