Layer Settings
In this section, you will learn how to manage the layers, to set the display mode and the style of the layers, and to set the format of the feature info.
- Add a layer and Select it.
- Click on
 to access the settings.
General Settings Form
On the first page of the form, you can change the Title of the layer, translate it in several languages, add a description and assign it to a new Layer Group as seen in the TOC.
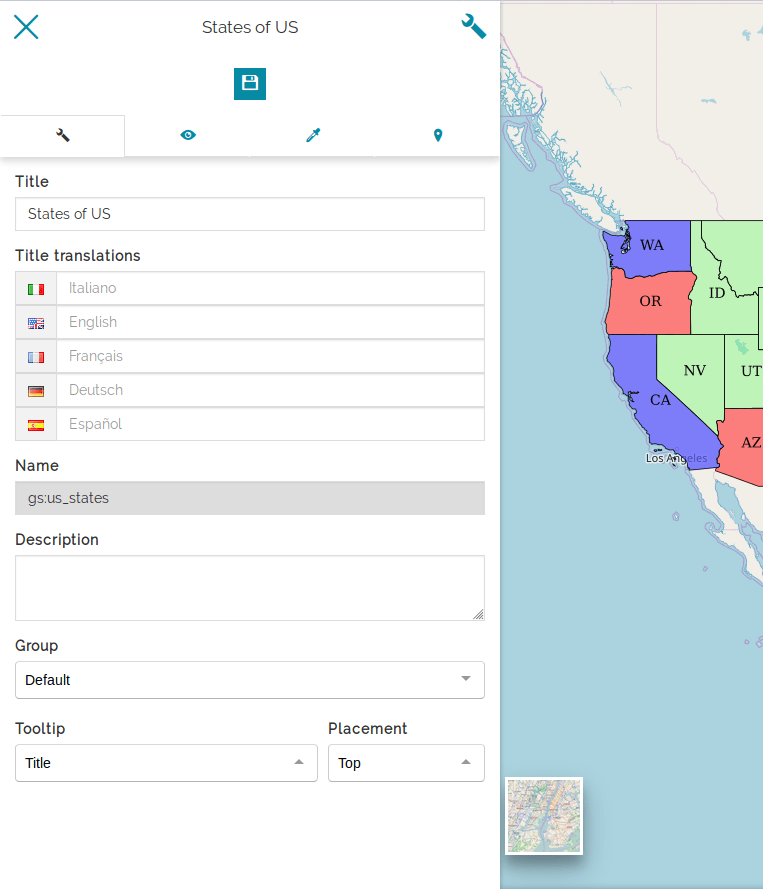
It is also possible to configure the Tooltip content displayed when moving the mouse over the TOC elements.
The Tooltip combobox lets you decide what information to display (Title, Description or both), the Placement value indicates the information text position (Top, Right or Bottom).
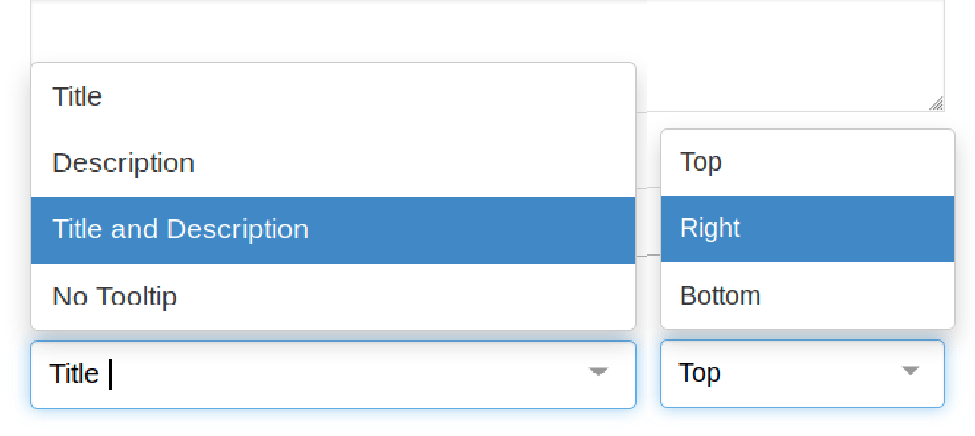
Let's type a Description (for example "My first description"), select the Title and Description Tooltip and the Right Placement, save this configuration by clicking the Save  button and see the results.
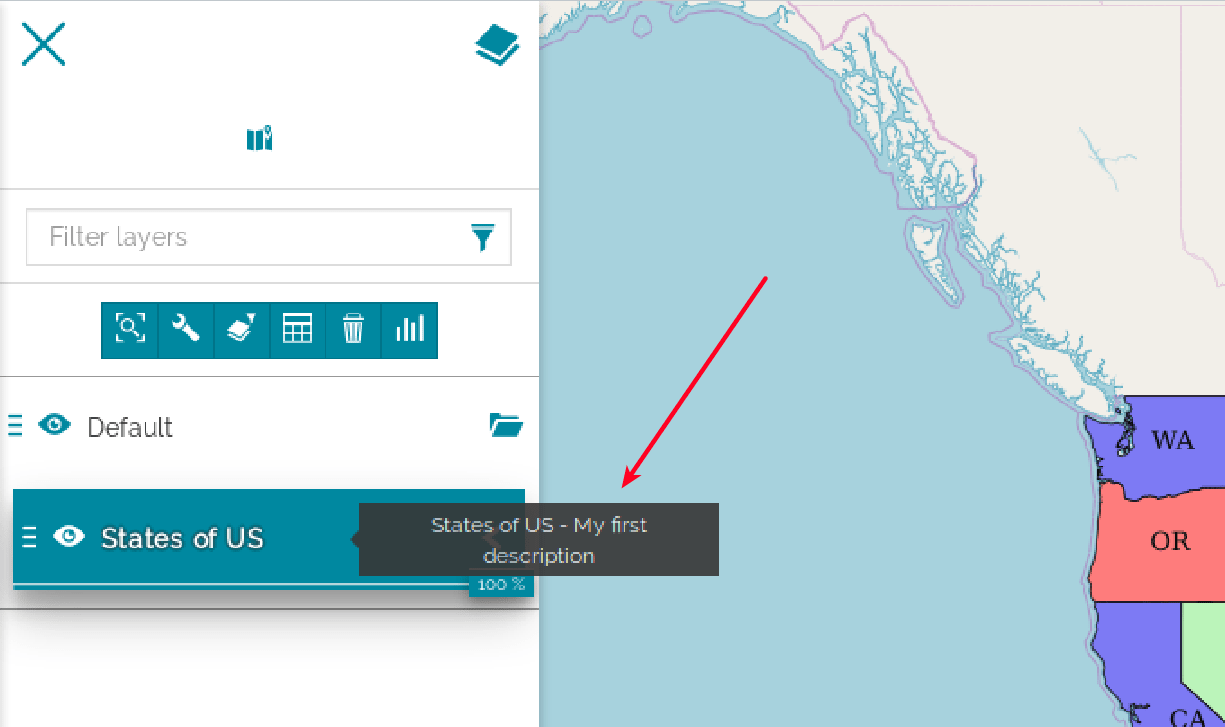
So MapStore lets you configure a different tooltip for each layer in the TOC.
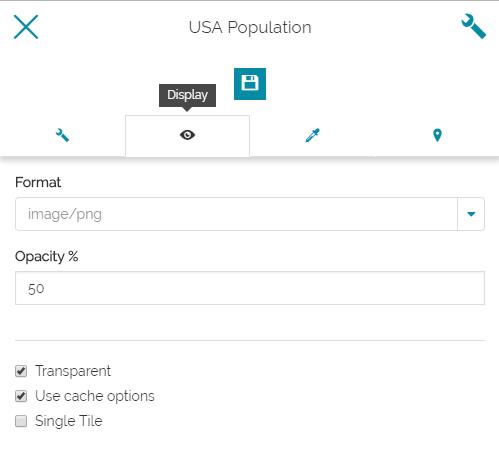
Display Form
On the second page, you can set the rendering options of the layer such as the image format and the opacity (transparency). You can enable/disable the use of the cache (if checked the Tiled=true URL parameter will be added to the WMS request) and displaying the layer as a single tile.
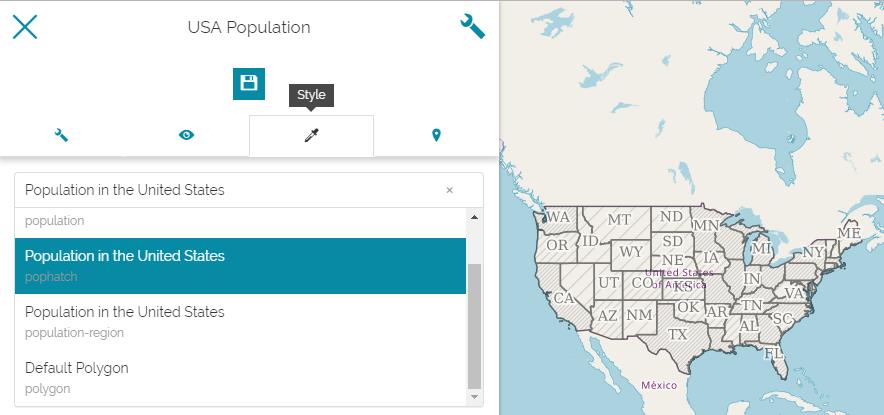
Style Form
On the third page, you can choose a style from the list and apply it to the layer.
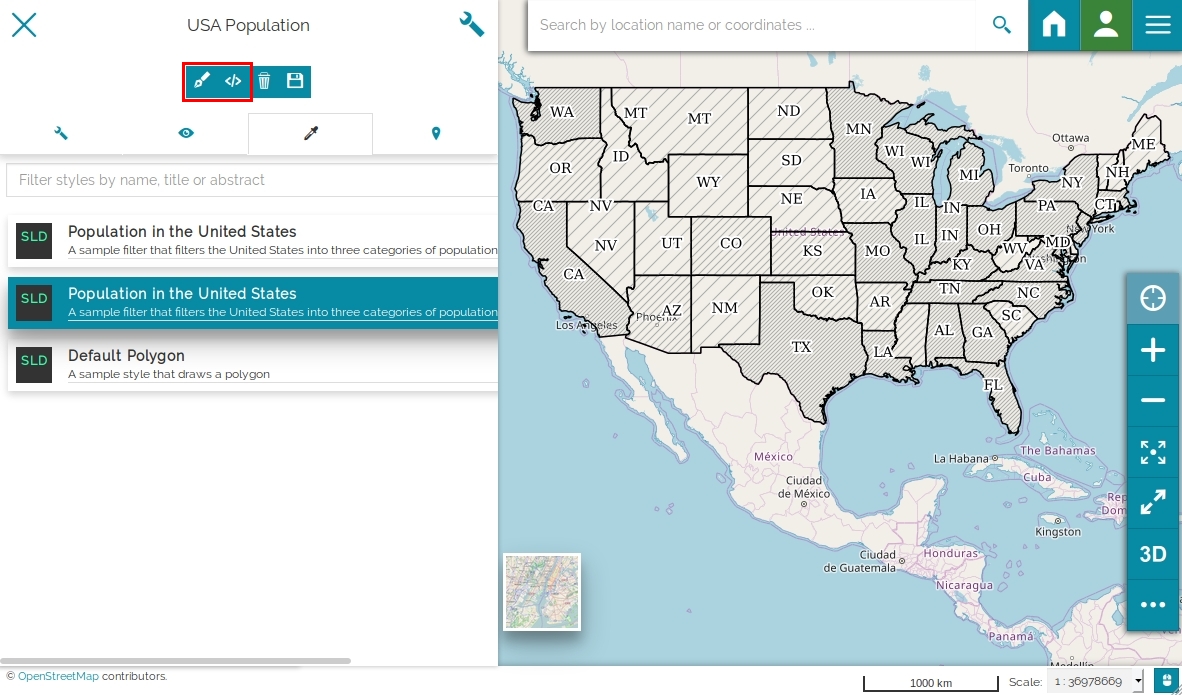
Style Editor
If you have any editing grants on the styles' source, you can customize layers' styles through the Style Editor.
The Style Editor tool provides its functionalities on top of GeoServer REST APIs, so the styling
functionalities are available only for those layers that are loaded in MapStore from GeoServer.
By default the GeoServer's REST APIs are available only for the GeoServer administrators, so a basic authentication form will appears in MapStore to enter the Admin credentials. Without Admin rights, the editing capabilities on styles are not available and only a list of the available styles will be shown in order to assign one of them to the selected layer. If the users integration between GeoServer and MapStore is configured, the editing functionalities of the styles will be available according to the role of the authenticated user in MapStore in a more transparent way.
Once done these requirements' checks you can edit an existing style or create a new one from scratch.
Edit styles
-
Click on the Edit selected style button
 if you want to edit an existing style.
-
Click on the Save current style button
 to save your changes
 - Click on the Back to style list button
 to go back without saving the changes.
Create new styles
-
Click on the Create new style button
 if you want to create your style from scratch. MapStore shows you some style templates from which you can start your customization. Those templates can be:
-
CSS - Cascading Style Sheet (a language used for describing the presentation of a document written in a markup language like the HTML)
-
SLD - Styled Layer Descriptor (an XML schema specified by the Open Geospatial Consortium (OGC) for describing the appearance of map layers)

-
-
Select a style template
-
Click on the Add selected template to list of styles button

-
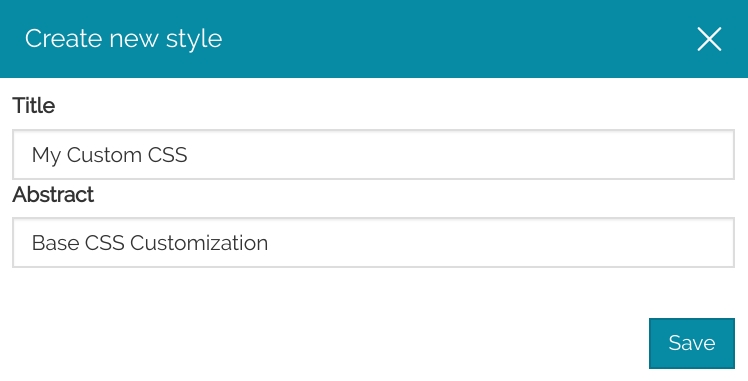
Enter a Title (and an Abstract if you want to) for your style
-
Click on Save
-
Now you can see your new style in the styles' list and Edit it through the editor
As you can see the Style Editor has a syntax control function that highlights any possible error with a red underline.
If errors are detected an icon with a red exclamation point ![]() will be shown in the top-right side of the editor:
will be shown in the top-right side of the editor:

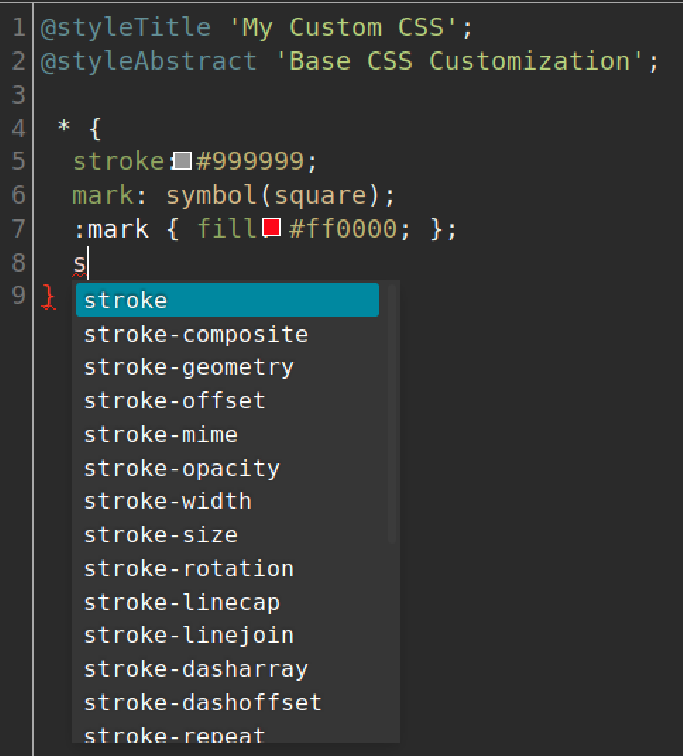
The autocomplete function suggests you the style's properties names and prevents syntax errors:
Another useful tool is the color picker that allow you to choose colors, directly from the editor, via an interface with a visual representation of a color:
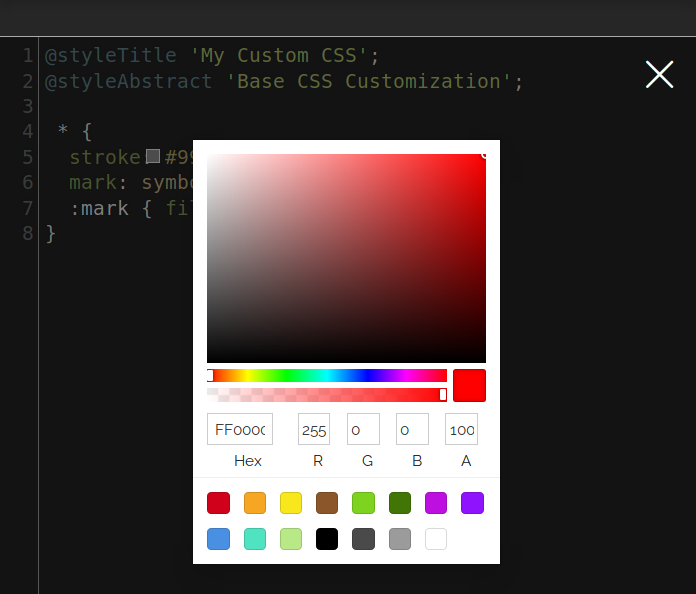
Click on the square filled icon (![]() ) near the color code to activate this function.
) near the color code to activate this function.
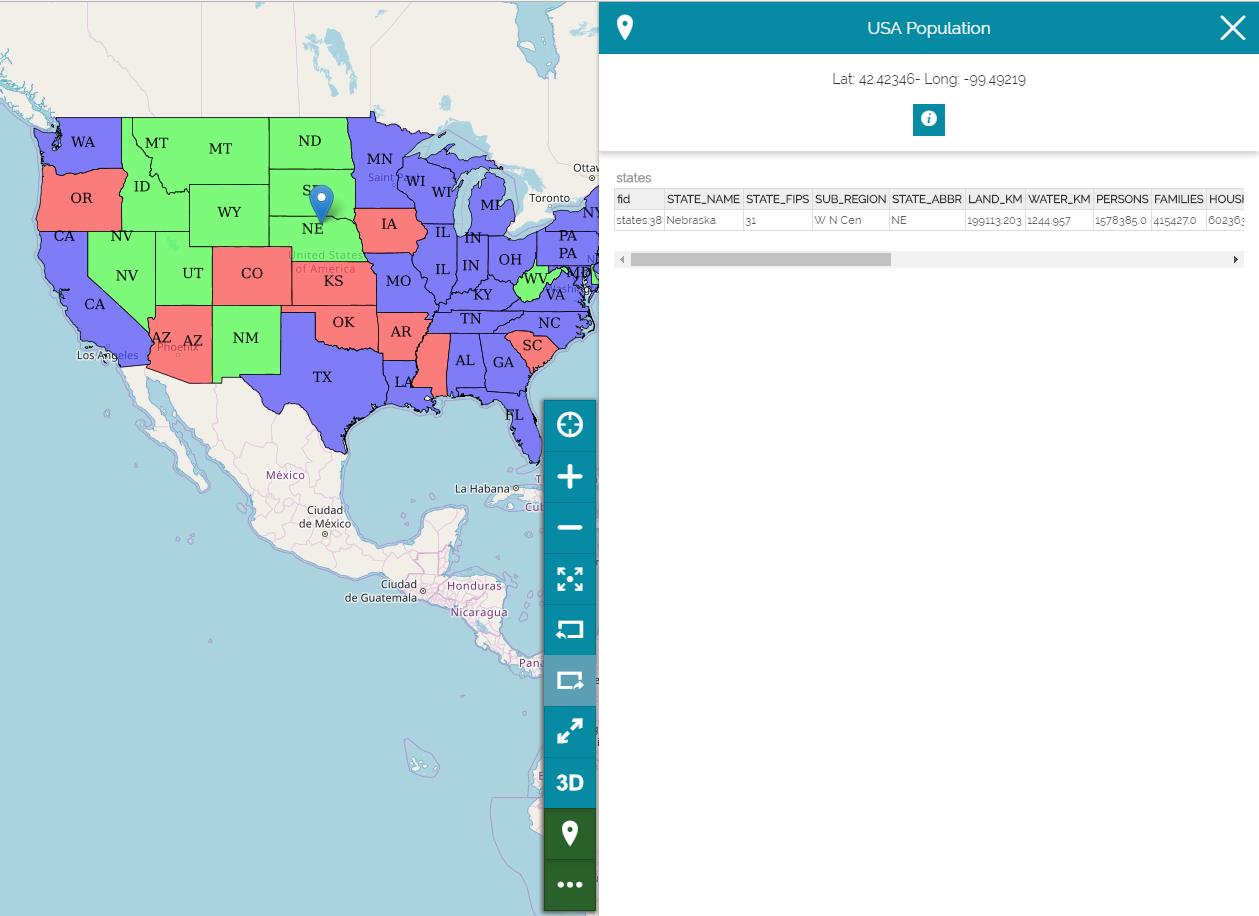
Feature Info Form
On the fourth page, you can set the format of the extracted information from a feature or a pixel location when querying a layer.
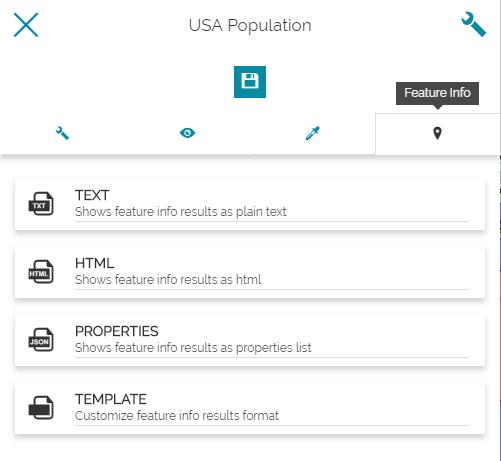
The Identify button, located in the Side bar, is enabled by default and allows you to query objects on the map by clicking on it. You can choose to get the info in Plain Text, HTML, Properties List or to customize your own template. An example is shown below:
- Select the HTML format, Then Save it.
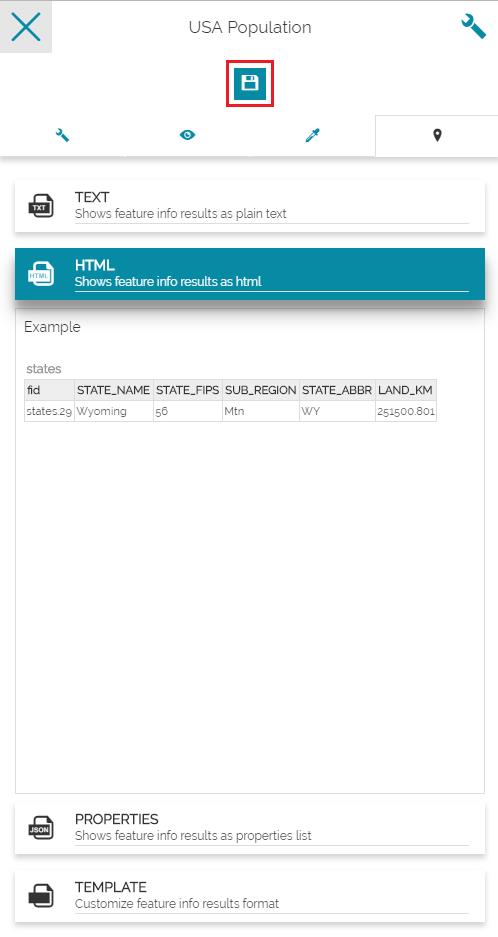
-
Click on the layer. The info will be returned as a record (row) of a table corresponding to the info of that feature element of the layer.